Blog: czahl's build
-
@sepi I'm also using tasa packing tape, but without any glue:
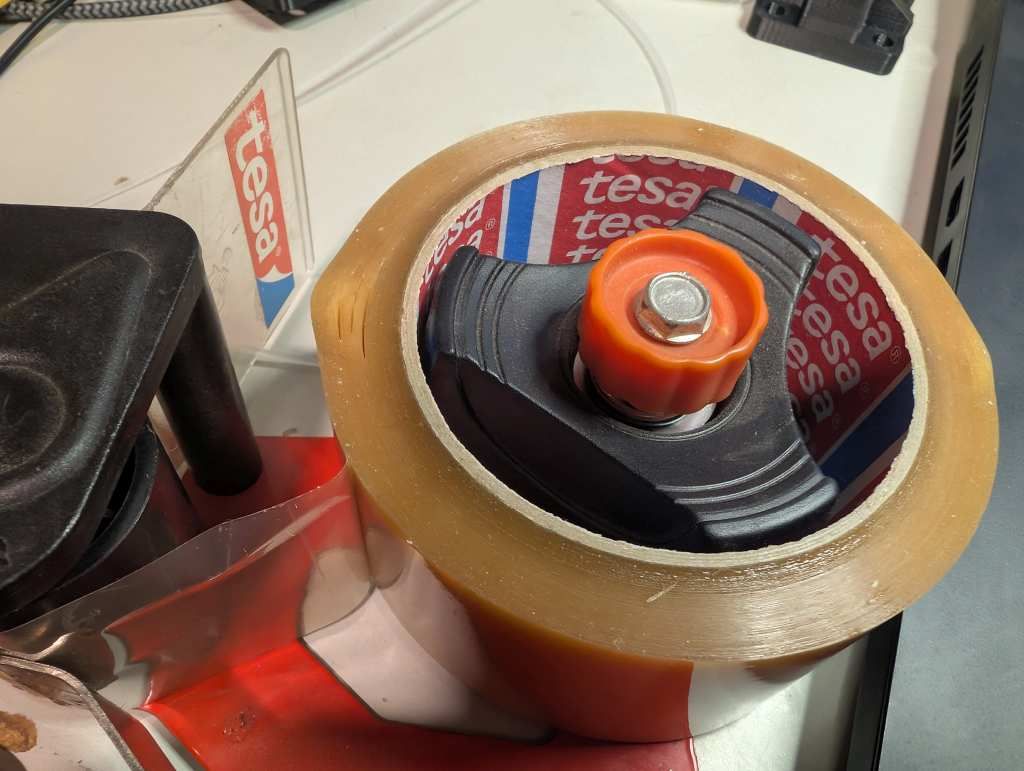
I'm printing with "Formfutura Centaur PP" filament. Once I lifted the corner of the brim I had no issues to pull the print from the tape.
This is how I did my blow tests:
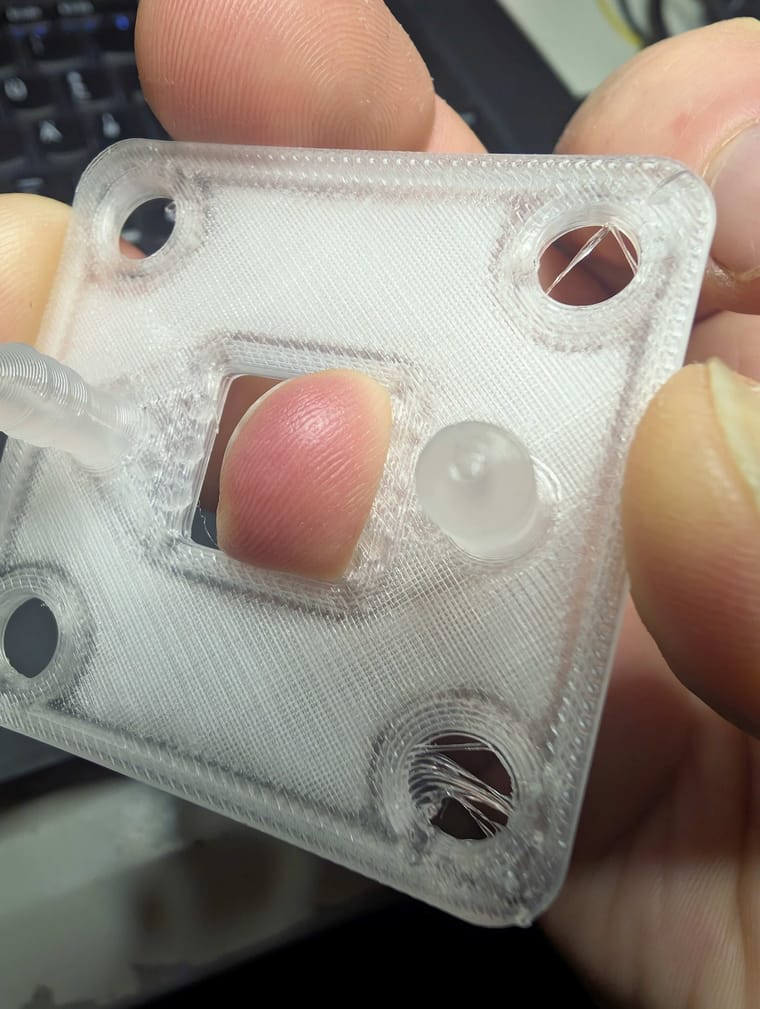
When I just blow into the "nozzle" I can hear the sound of the escaping air. While gently pressing the small finger against the outlet I noticed the change in the sound as the air was escaping somewhere else.@czahl This is how I've done the sealing too. You have to press quite hard with your finger. Good thing is that the print must be good for this to work, otherwise it just won't seal, either because the edges are warped or because it escapes through the top or bottom.
-
@czahl Nice to hear that you got it tight. I also like the arrangement of your tape pieces. I suspect that my flow-frames might not seal because of the gap between the tapes, just moving the gap to the side totally makes sense.
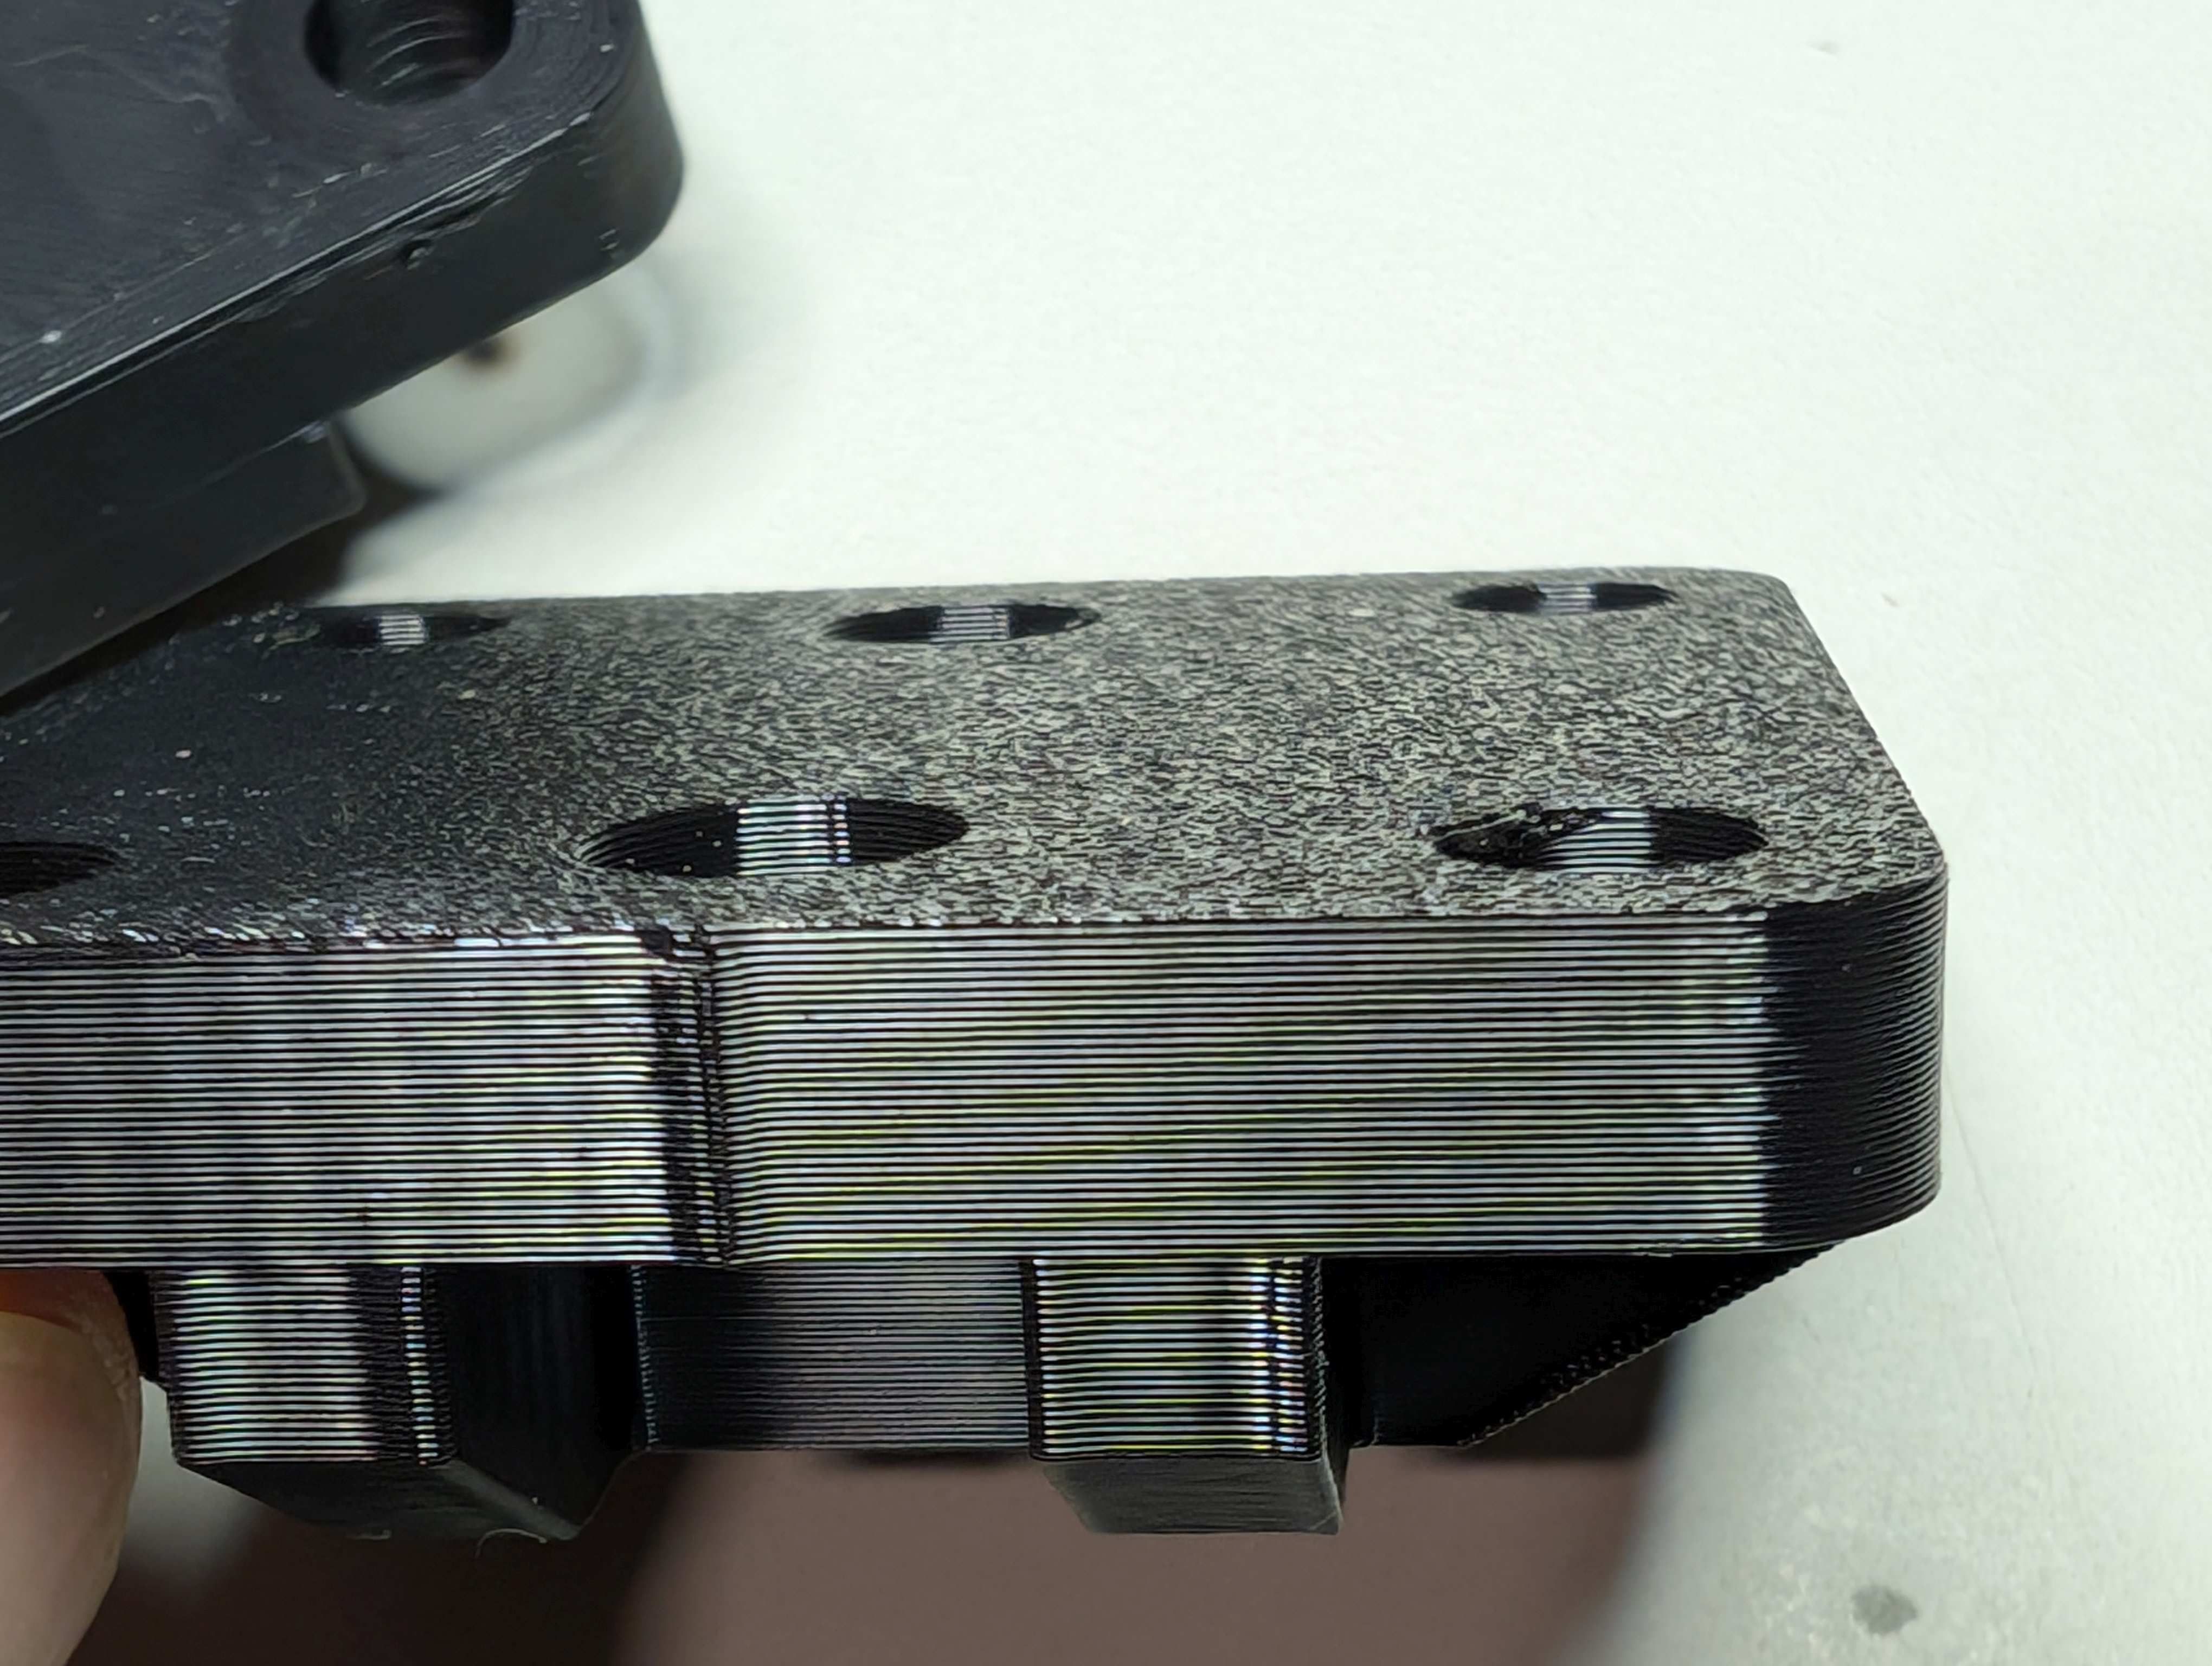
@sepi Yeah, I made the mistake in my very first print and observed a small line on the surface due to the overlap / gap between the tapes. Then I realized that the tape width is approx. the width of the part, therefore I rearranged the tape to use just one in the middle. But the brims beside the tapes were not fasten enough to plate, therefore I added one above and one below...
BTW. after my approx. 10th print the tape is damaged now, so I need to replace it.
-
@czahl It's really strange how easily you can remove the print from that tape. It's handy though. I tried adding some mineral oil to facilitate removal but that didn't help. Maybe next time I'll also try some glue stick.
@sepi I have seem some YouTube videos where they showed the same, the tape was bonding too good to the filament, or even melted with it. I have no clue why this is not the case with me. Either it is based on the filament or on the printing parameter. What I used (mix of recommendations from @danielfp248 and the Magigoo Manual:
- bed temp of 80° for the first layer, 35!° for the others
- printing with 250° for the first layer, 240° for the others.
- my best results so far are with a variable layer height, between 0.05 to 0.28 mm
Later today I will try to print with BASF Ultrafuse PP filament and hopefully tomorrow with the kit from PPprint.
-
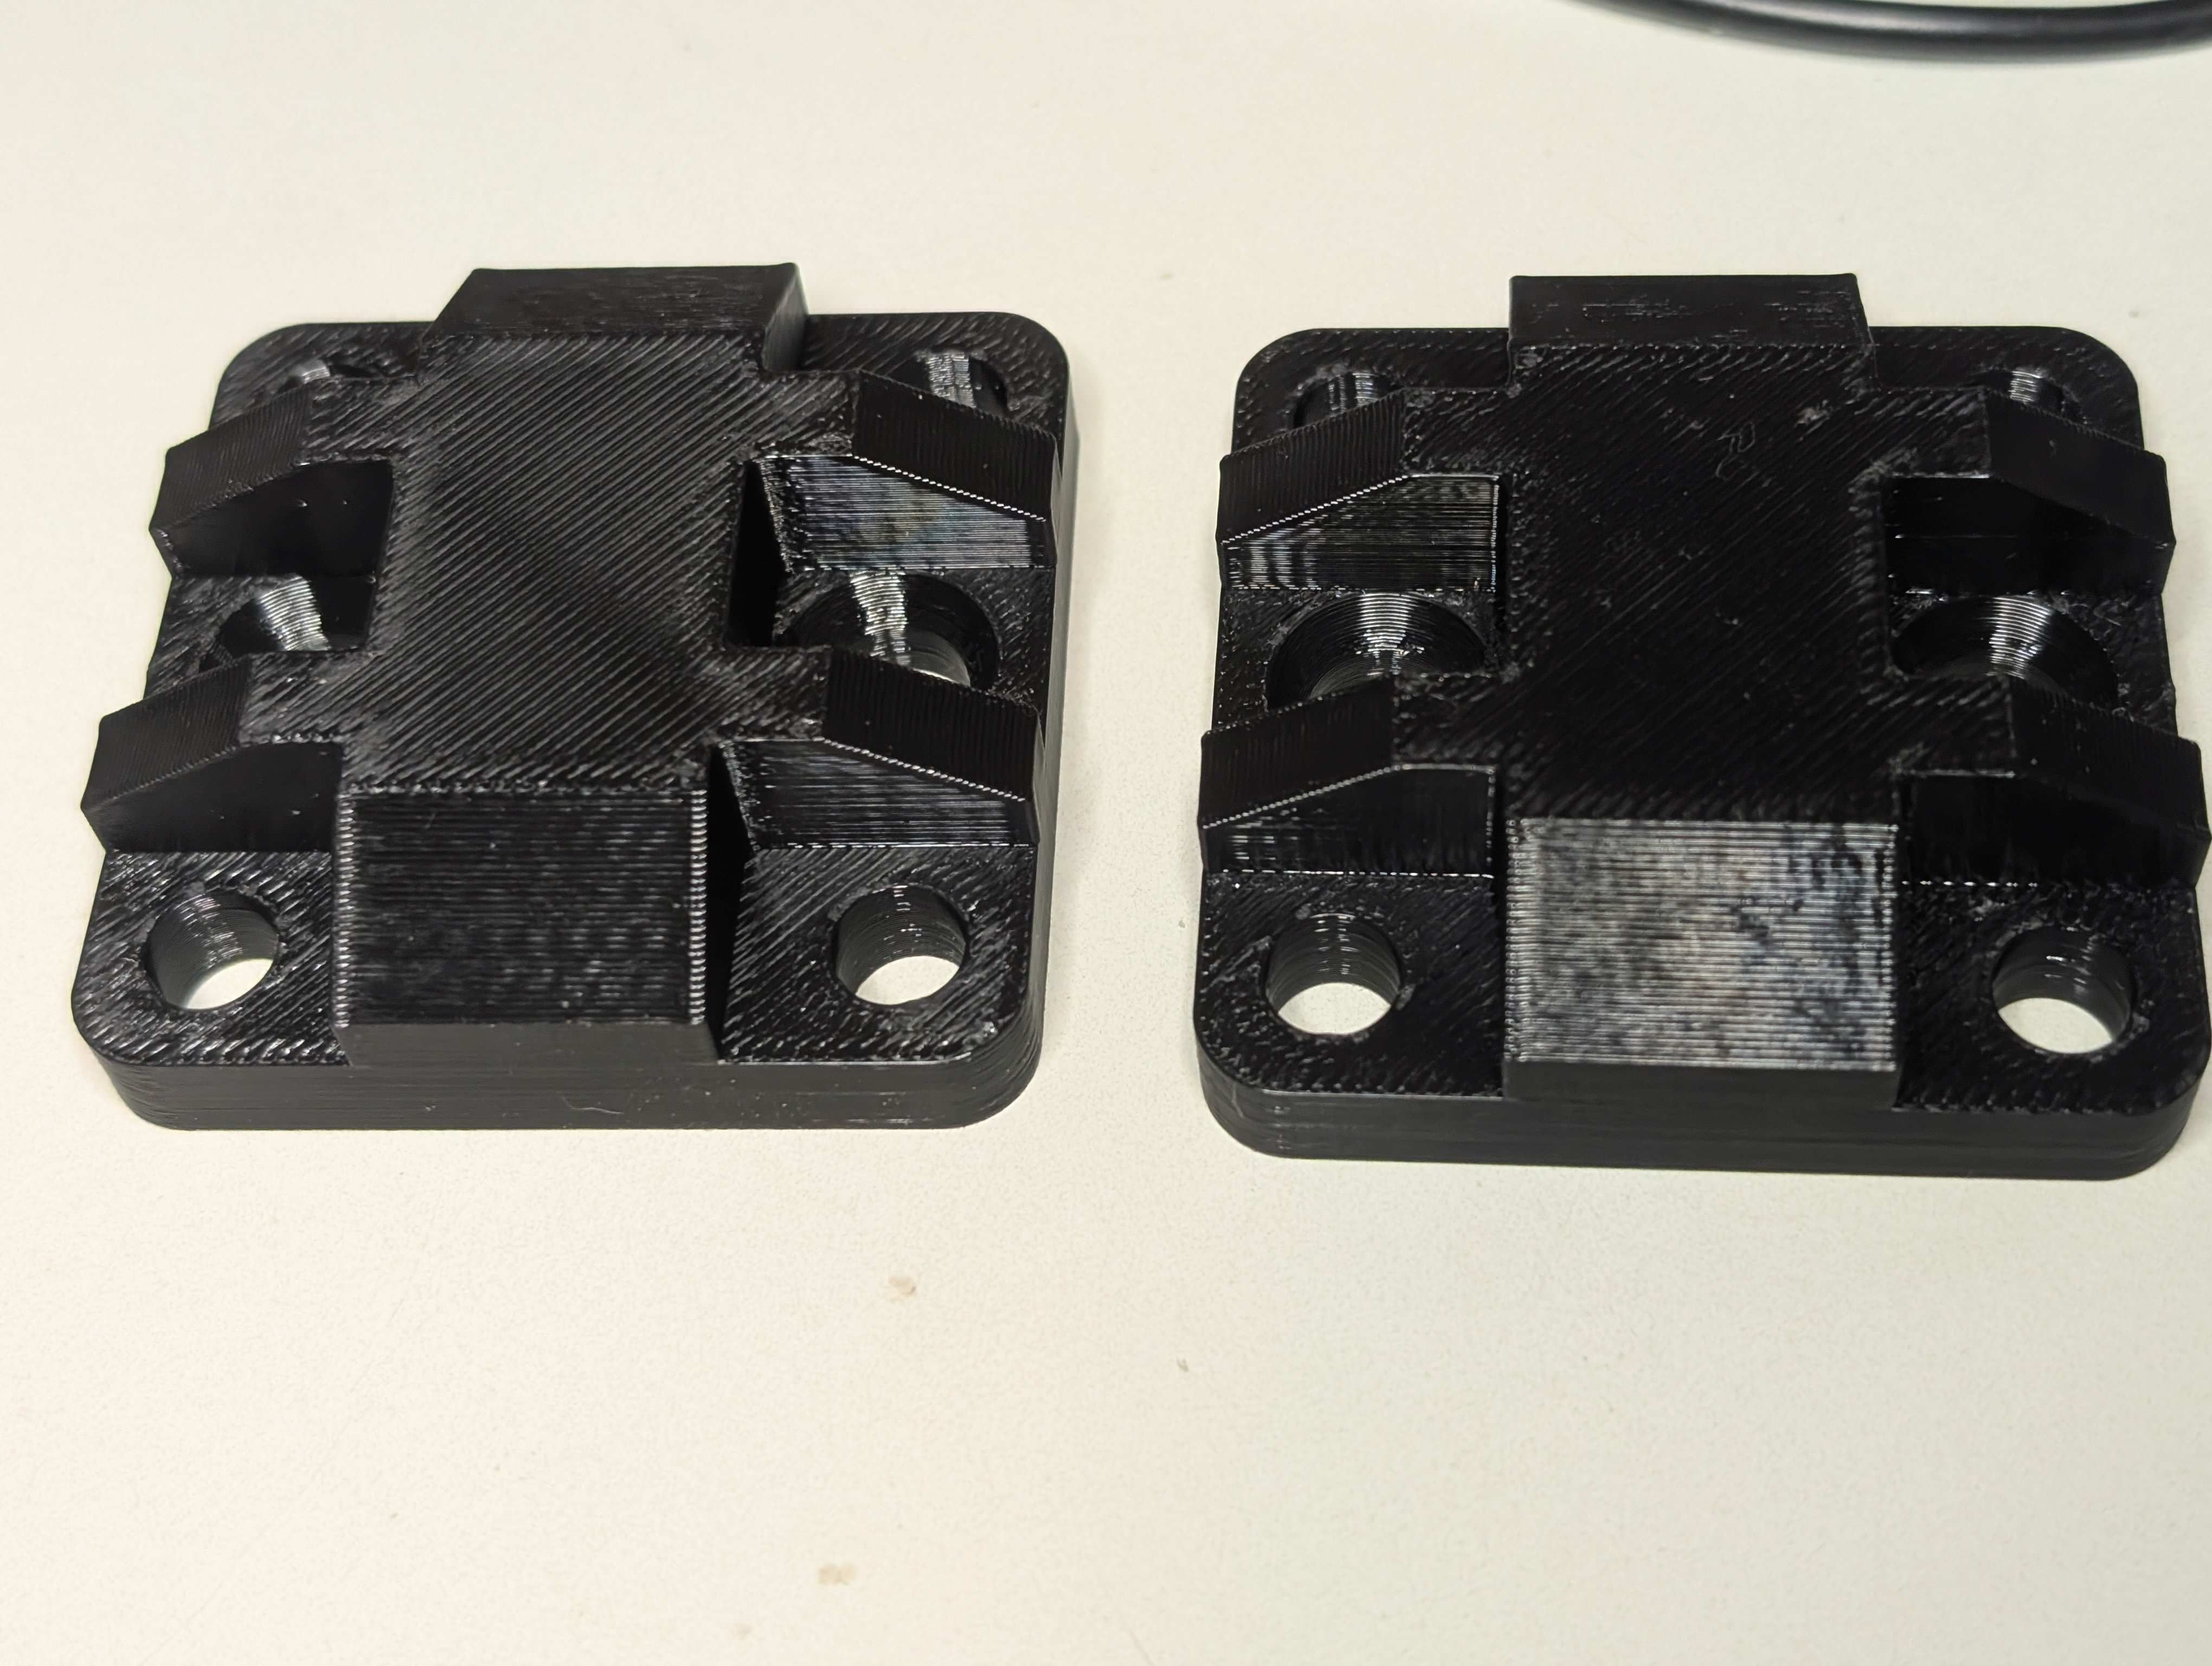
Yesterday I made a new test with the BASF Ultrafuse PP filament - and it behaves totally different. When keeping all the parameters as before, it was loosen from the tape after some layers. I also noticed massive warping, the brims were also warped up.
Next I used the print profile from BASF. It uses a much higher temperature (which is not in line with the datasheet), but the result was the same. In addition, the packing tape melted so I had to remove it.
Next I used a this film of MAGIGOO PP adhesive glue, which gives a good result:
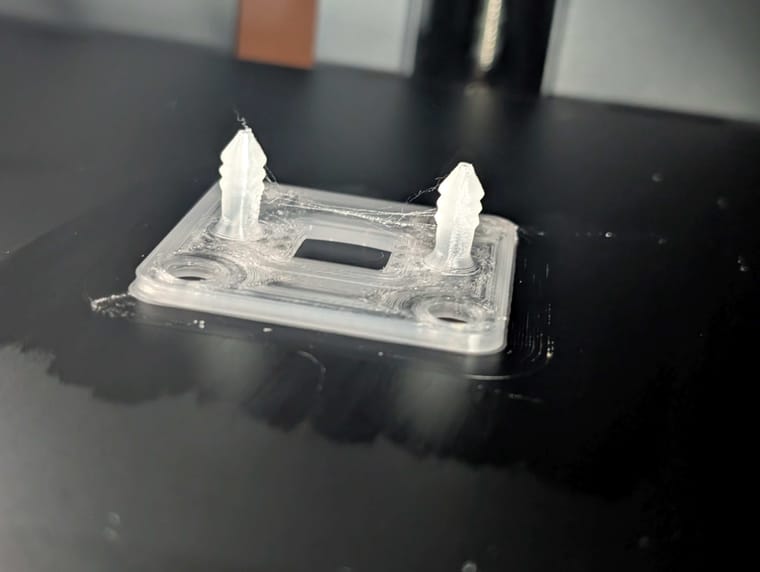
It has some stringing (might be because of the high temp) but fastened to the printing plate quiet well. Removal after cooling down was also easy. Unfortunately, the flow was too much so that the hole in the port was solid. I need to tune the parameters further or to use the new update from @kirk where the inner diameter is increased from 2 to 3mm. -
@czahl interesting findings. I guess I need to buy some of that expensive magigoo. About those "clogged" holes, why not just drill them open a bit?
@sepi said in Blog: czahl's build:
About those "clogged" holes, why not just drill them open a bit?
This might be possible. If the port is clogged until the bottom, it will get tricky, specially when reaching the bottom. But I will give it also a try this evening...
-
Yesterday I made a new test with the BASF Ultrafuse PP filament - and it behaves totally different. When keeping all the parameters as before, it was loosen from the tape after some layers. I also noticed massive warping, the brims were also warped up.
Next I used the print profile from BASF. It uses a much higher temperature (which is not in line with the datasheet), but the result was the same. In addition, the packing tape melted so I had to remove it.
Next I used a this film of MAGIGOO PP adhesive glue, which gives a good result:
It has some stringing (might be because of the high temp) but fastened to the printing plate quiet well. Removal after cooling down was also easy. Unfortunately, the flow was too much so that the hole in the port was solid. I need to tune the parameters further or to use the new update from @kirk where the inner diameter is increased from 2 to 3mm.@czahl said in Blog: czahl's build:
the new update from @kirk where the inner diameter is increased from 2 to 3mm.
Also good catch, @danielfp248 has tested this already and it results in smoother flow/less pressure drop in the system without introducing new leakage it appears.
-
@czahl said in Blog: czahl's build:
the new update from @kirk where the inner diameter is increased from 2 to 3mm.
Also good catch, @danielfp248 has tested this already and it results in smoother flow/less pressure drop in the system without introducing new leakage it appears.
-
@sepi It was necessary when I had a much worse printer, lol. But I think any decent printer should be able to handle the wall thickness when the holes are 3mm on both the reservoirs and the flow frames.
-
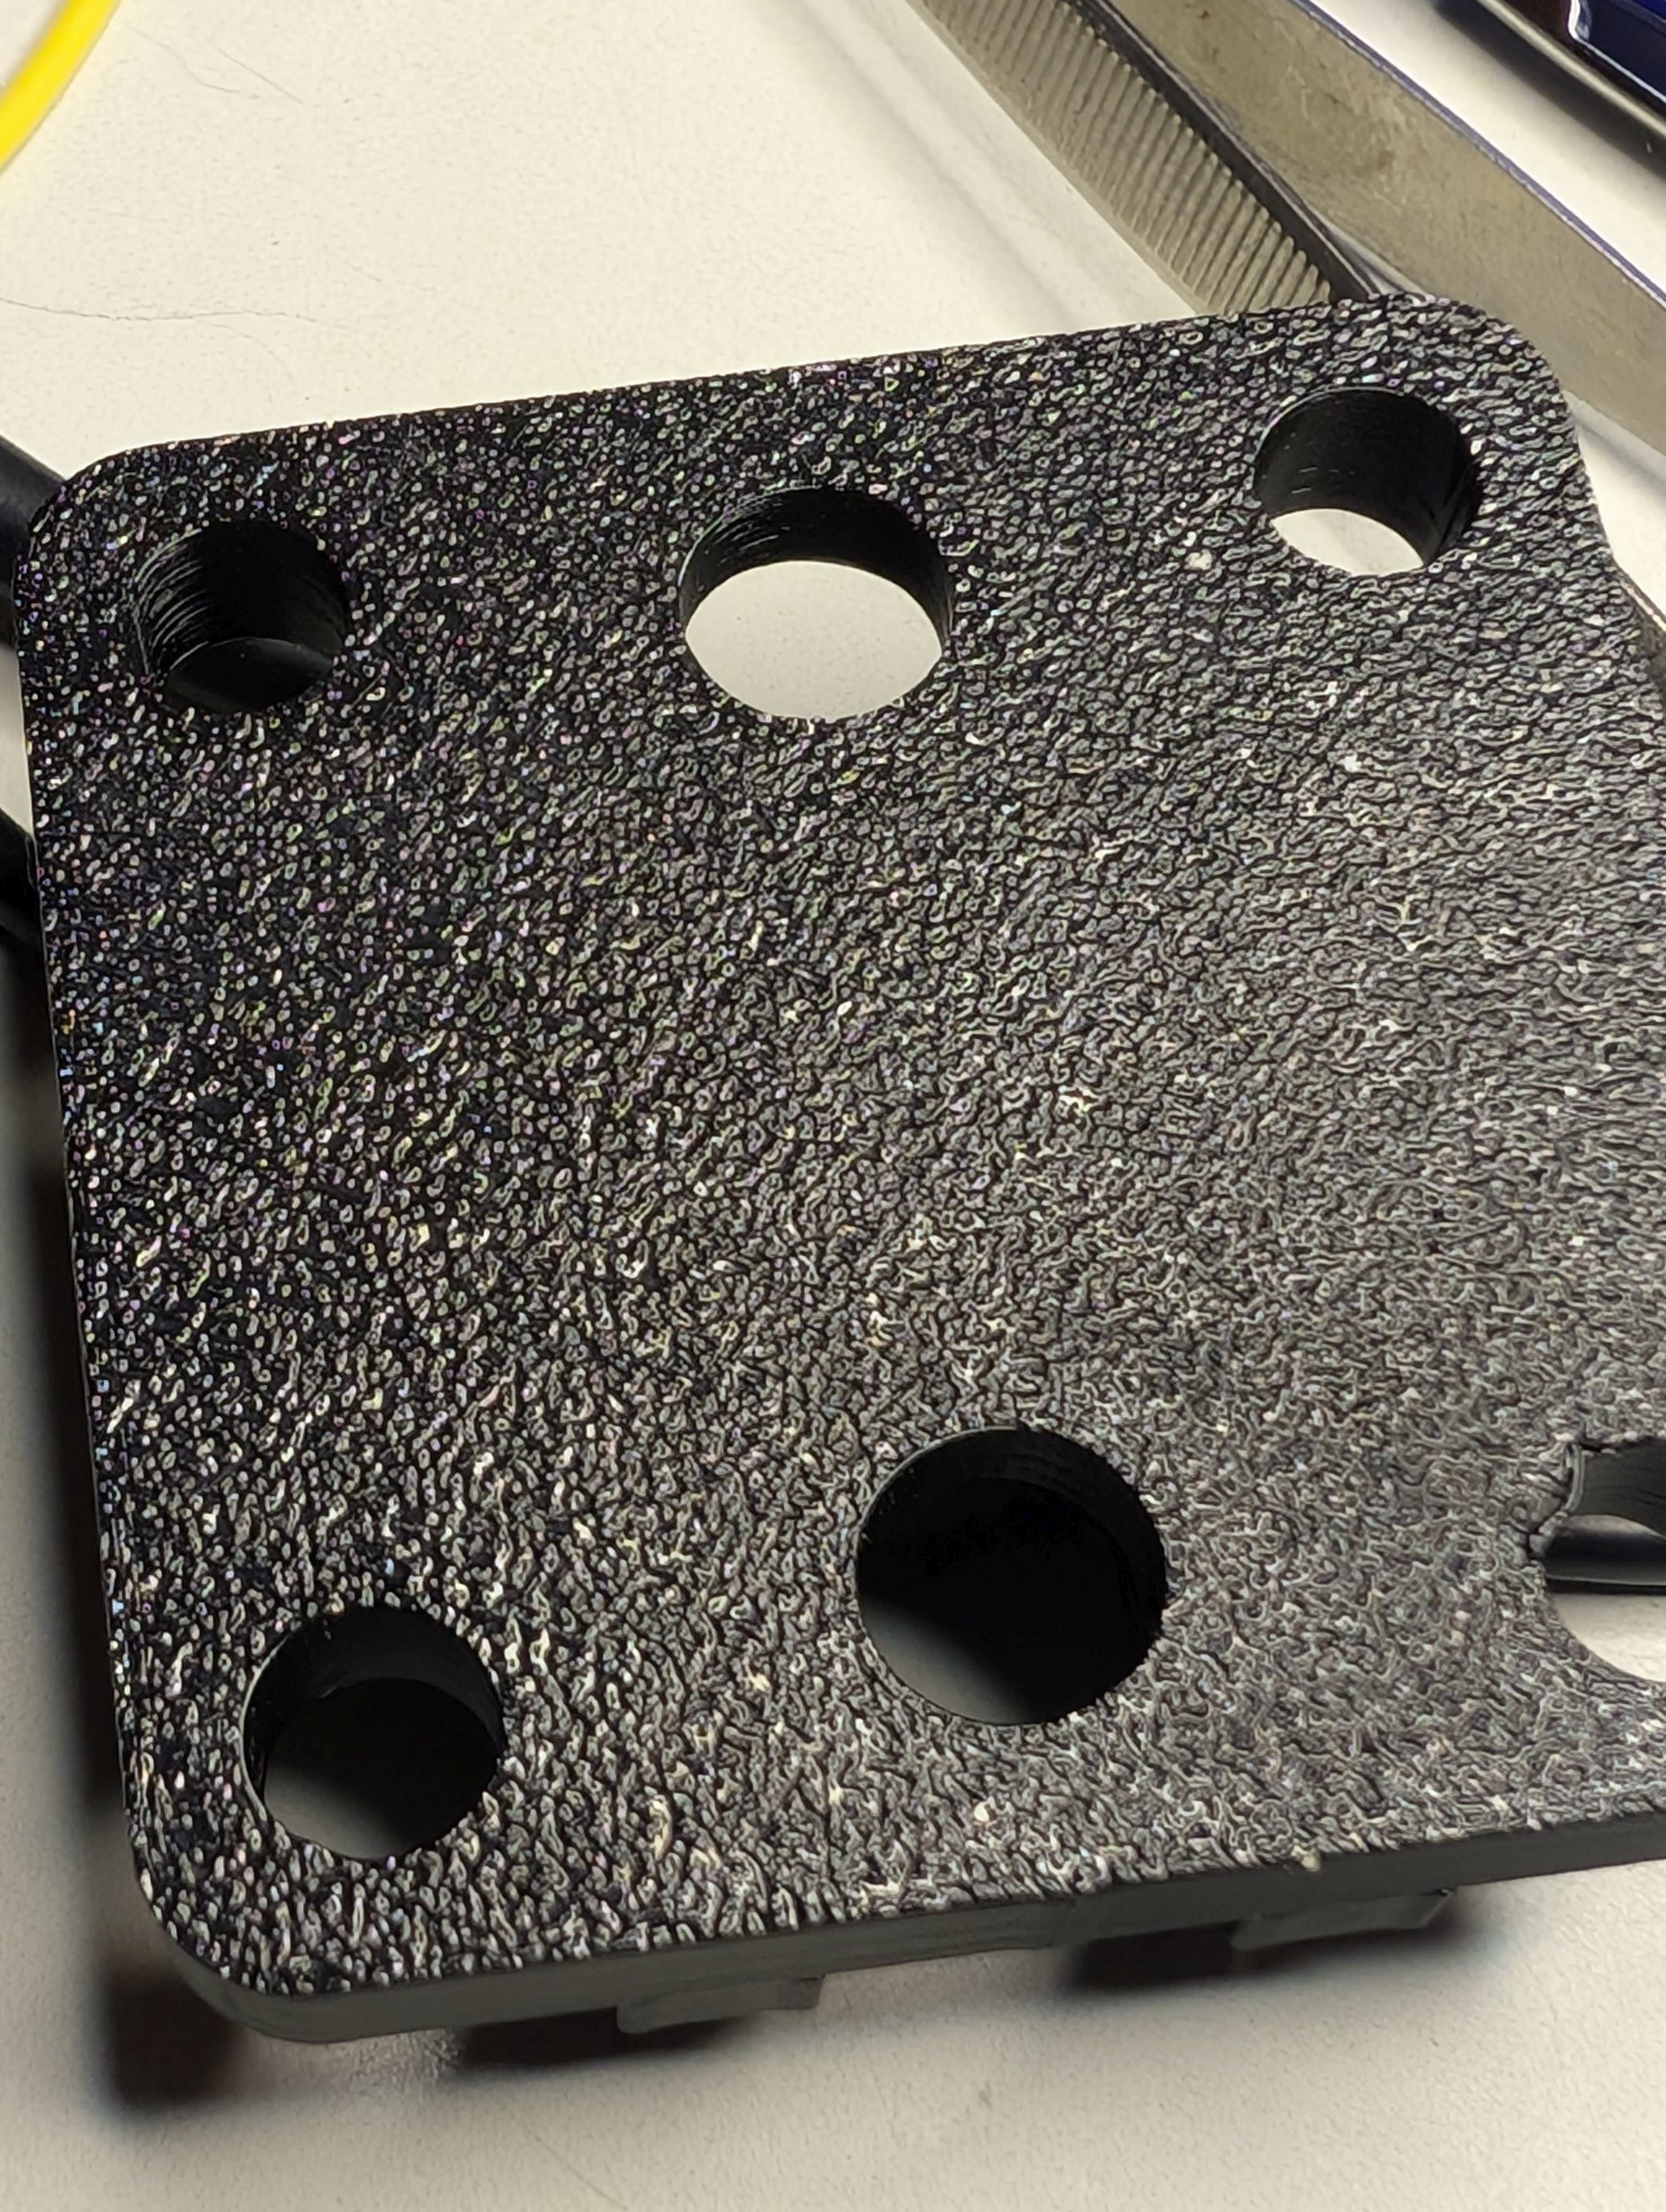
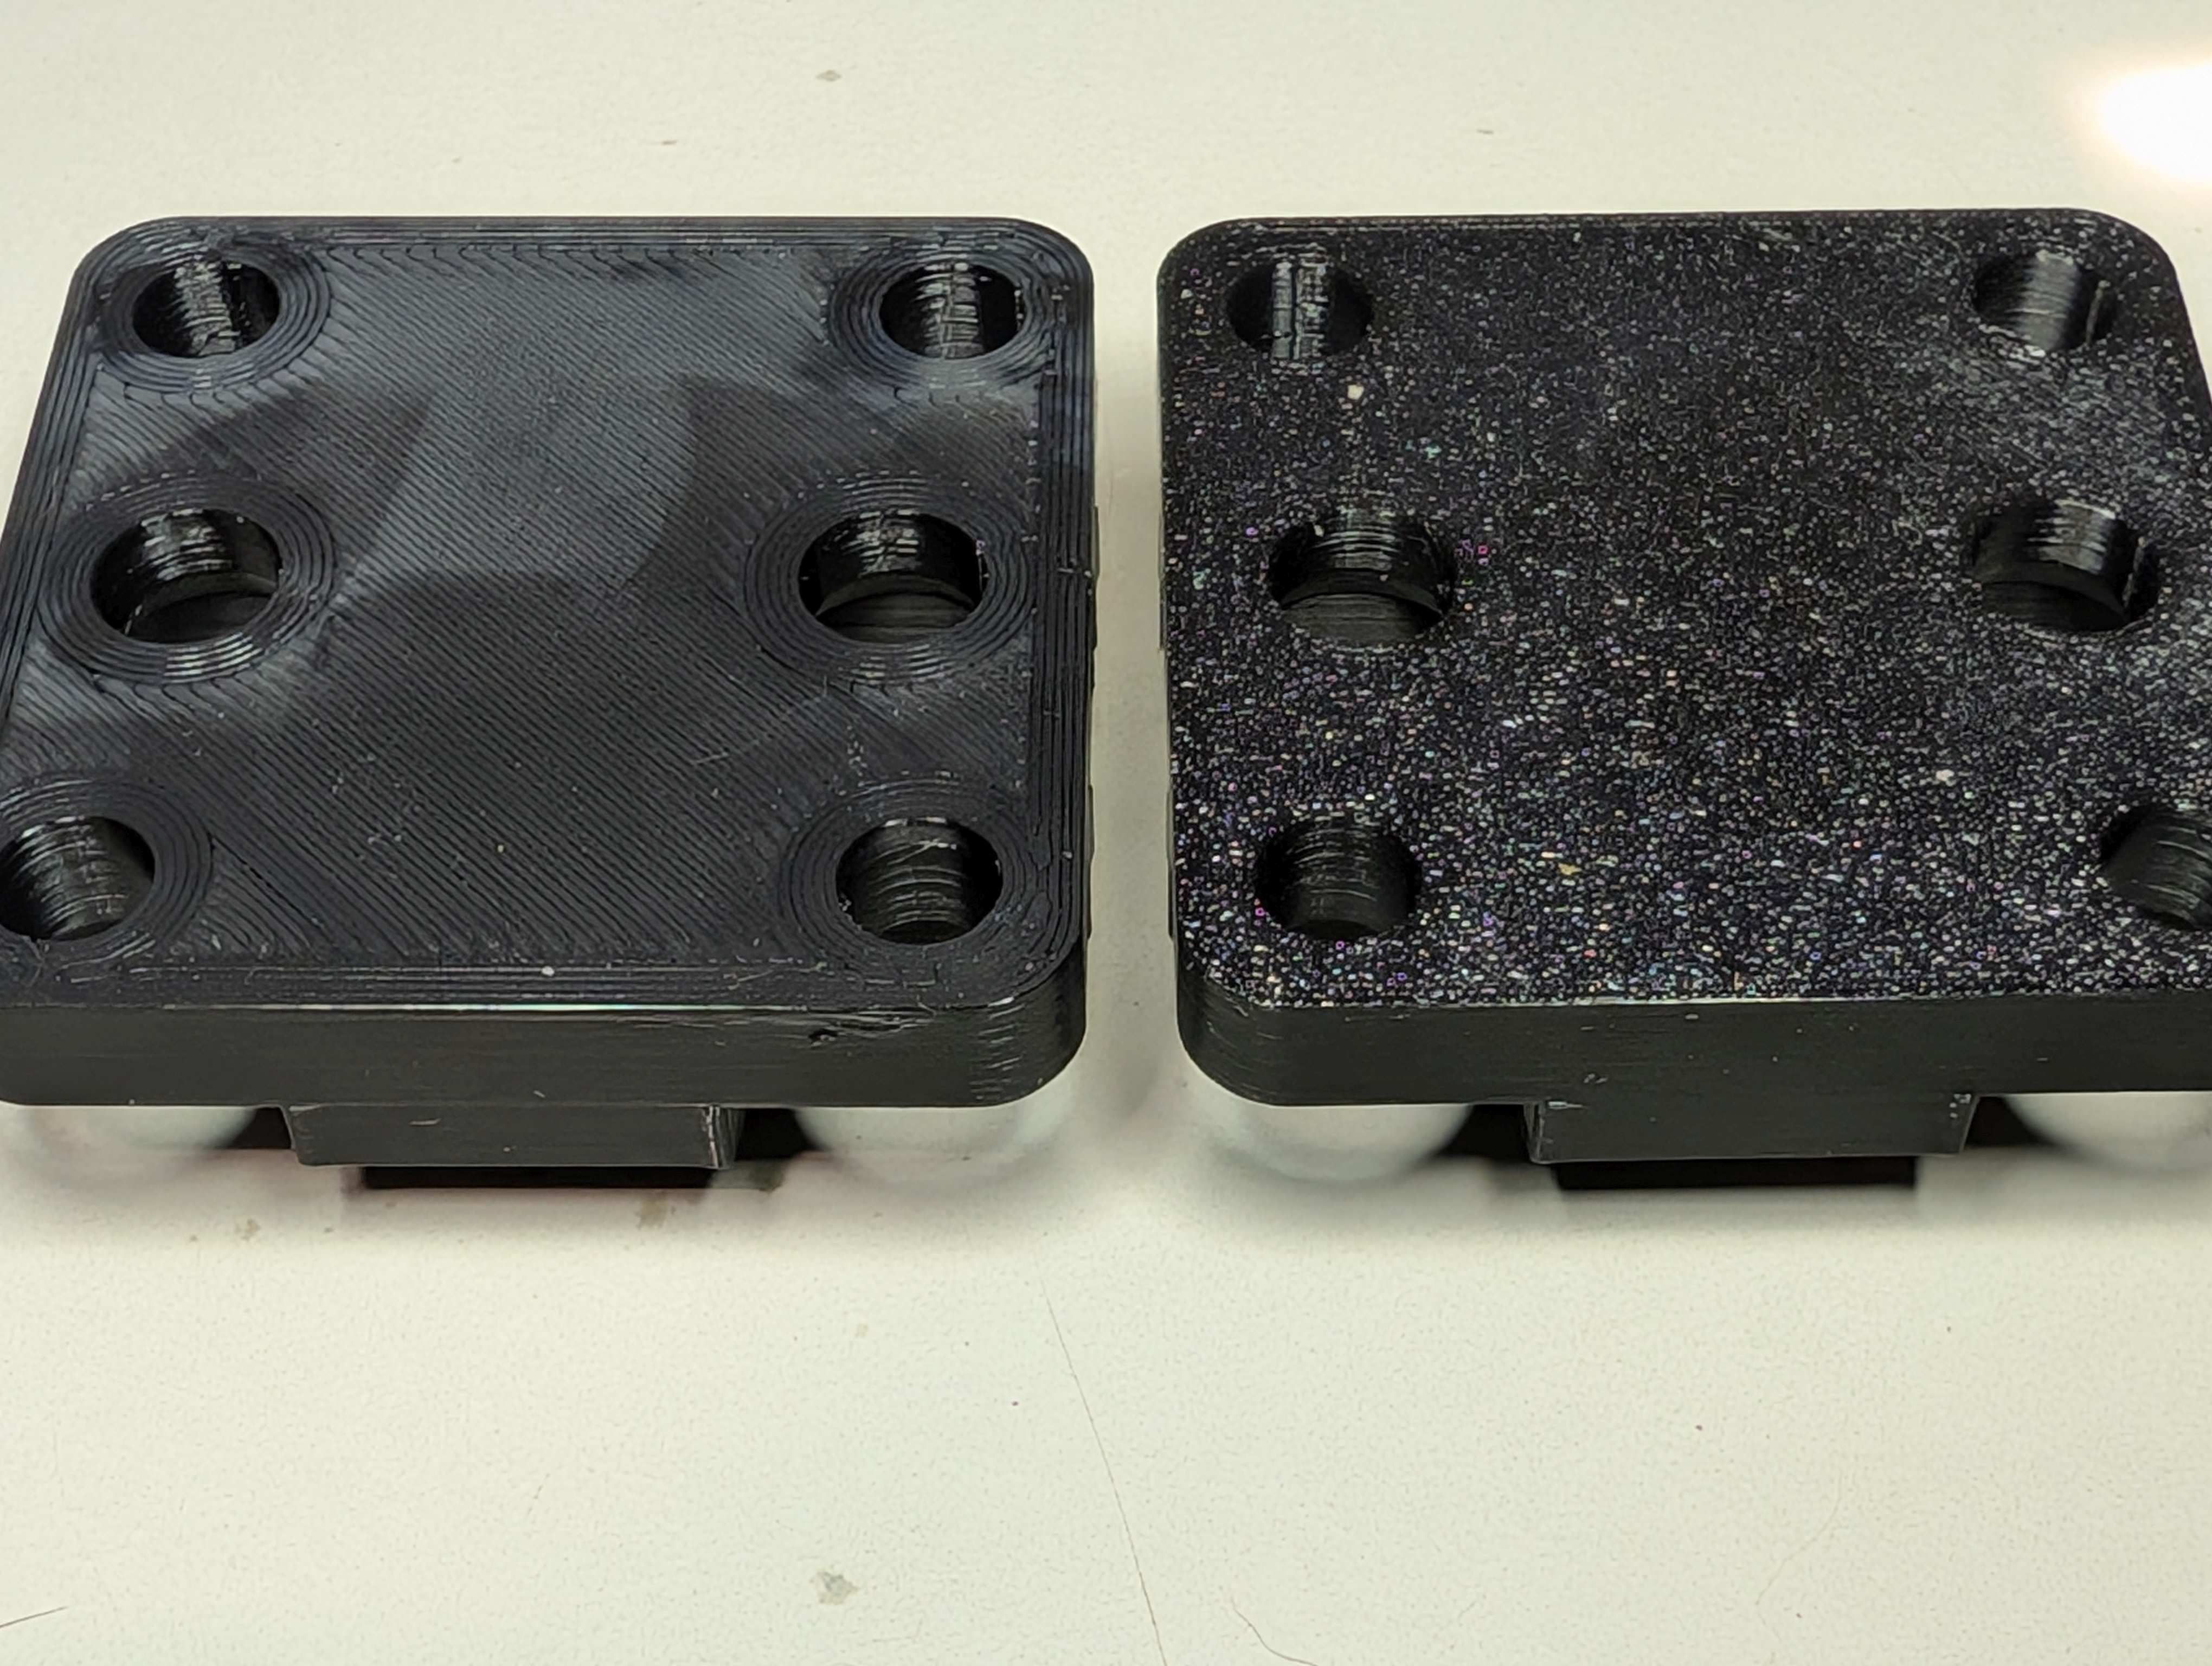
Printing the larger parts gives the impression that I'm almost done, but there is still a lot work to do...

I'm still waiting for the silicone foil, should arrive next week. BTW, has anyone tried to "mill" the silicone foil and graphite foil? I'm thinking to put it below a 2-3mm wood plate and use my OpenBuilds CNC router for it, wither with an engraving tool or a 4mm endmill... -
Printing the larger parts gives the impression that I'm almost done, but there is still a lot work to do...
I'm still waiting for the silicone foil, should arrive next week. BTW, has anyone tried to "mill" the silicone foil and graphite foil? I'm thinking to put it below a 2-3mm wood plate and use my OpenBuilds CNC router for it, wither with an engraving tool or a 4mm endmill...@czahl Thanks for sharing! Looking great so far! We usually cut the silicone gaskets either by hand or with a vinyl cutter (I used cricut for it),we've never tried something like what you're suggesting. Let us know how your approach goes!
-
BTW I love seeing everyone's different PP and PLA colors building very differently looking kits!
-
Printing the larger parts gives the impression that I'm almost done, but there is still a lot work to do...
I'm still waiting for the silicone foil, should arrive next week. BTW, has anyone tried to "mill" the silicone foil and graphite foil? I'm thinking to put it below a 2-3mm wood plate and use my OpenBuilds CNC router for it, wither with an engraving tool or a 4mm endmill...@czahl I haven't tried milling those materials but was considering similar options to what you have in mind. I'd give it a try at least, the more optoons we have, the better. And cutting gaskets will always be a thing in RFB production I'm afraid.
The alternative would be to simply get a drag knife like this: https://fr.aliexpress.com/item/1005006131524919.html
Also, congrats on printing the rest of you parts! They look very nice!
-
Yeah, nice work @czahl ! And another +1 for a drag knife being more appropriate than milling, but, it's worth giving it a go anyway! Laser cutter also possible, for gaskets, but no guarantee on the safety of fumes. IIRC cutting grafoil with a laser is possible only with a fiber laser, not CO2.
-
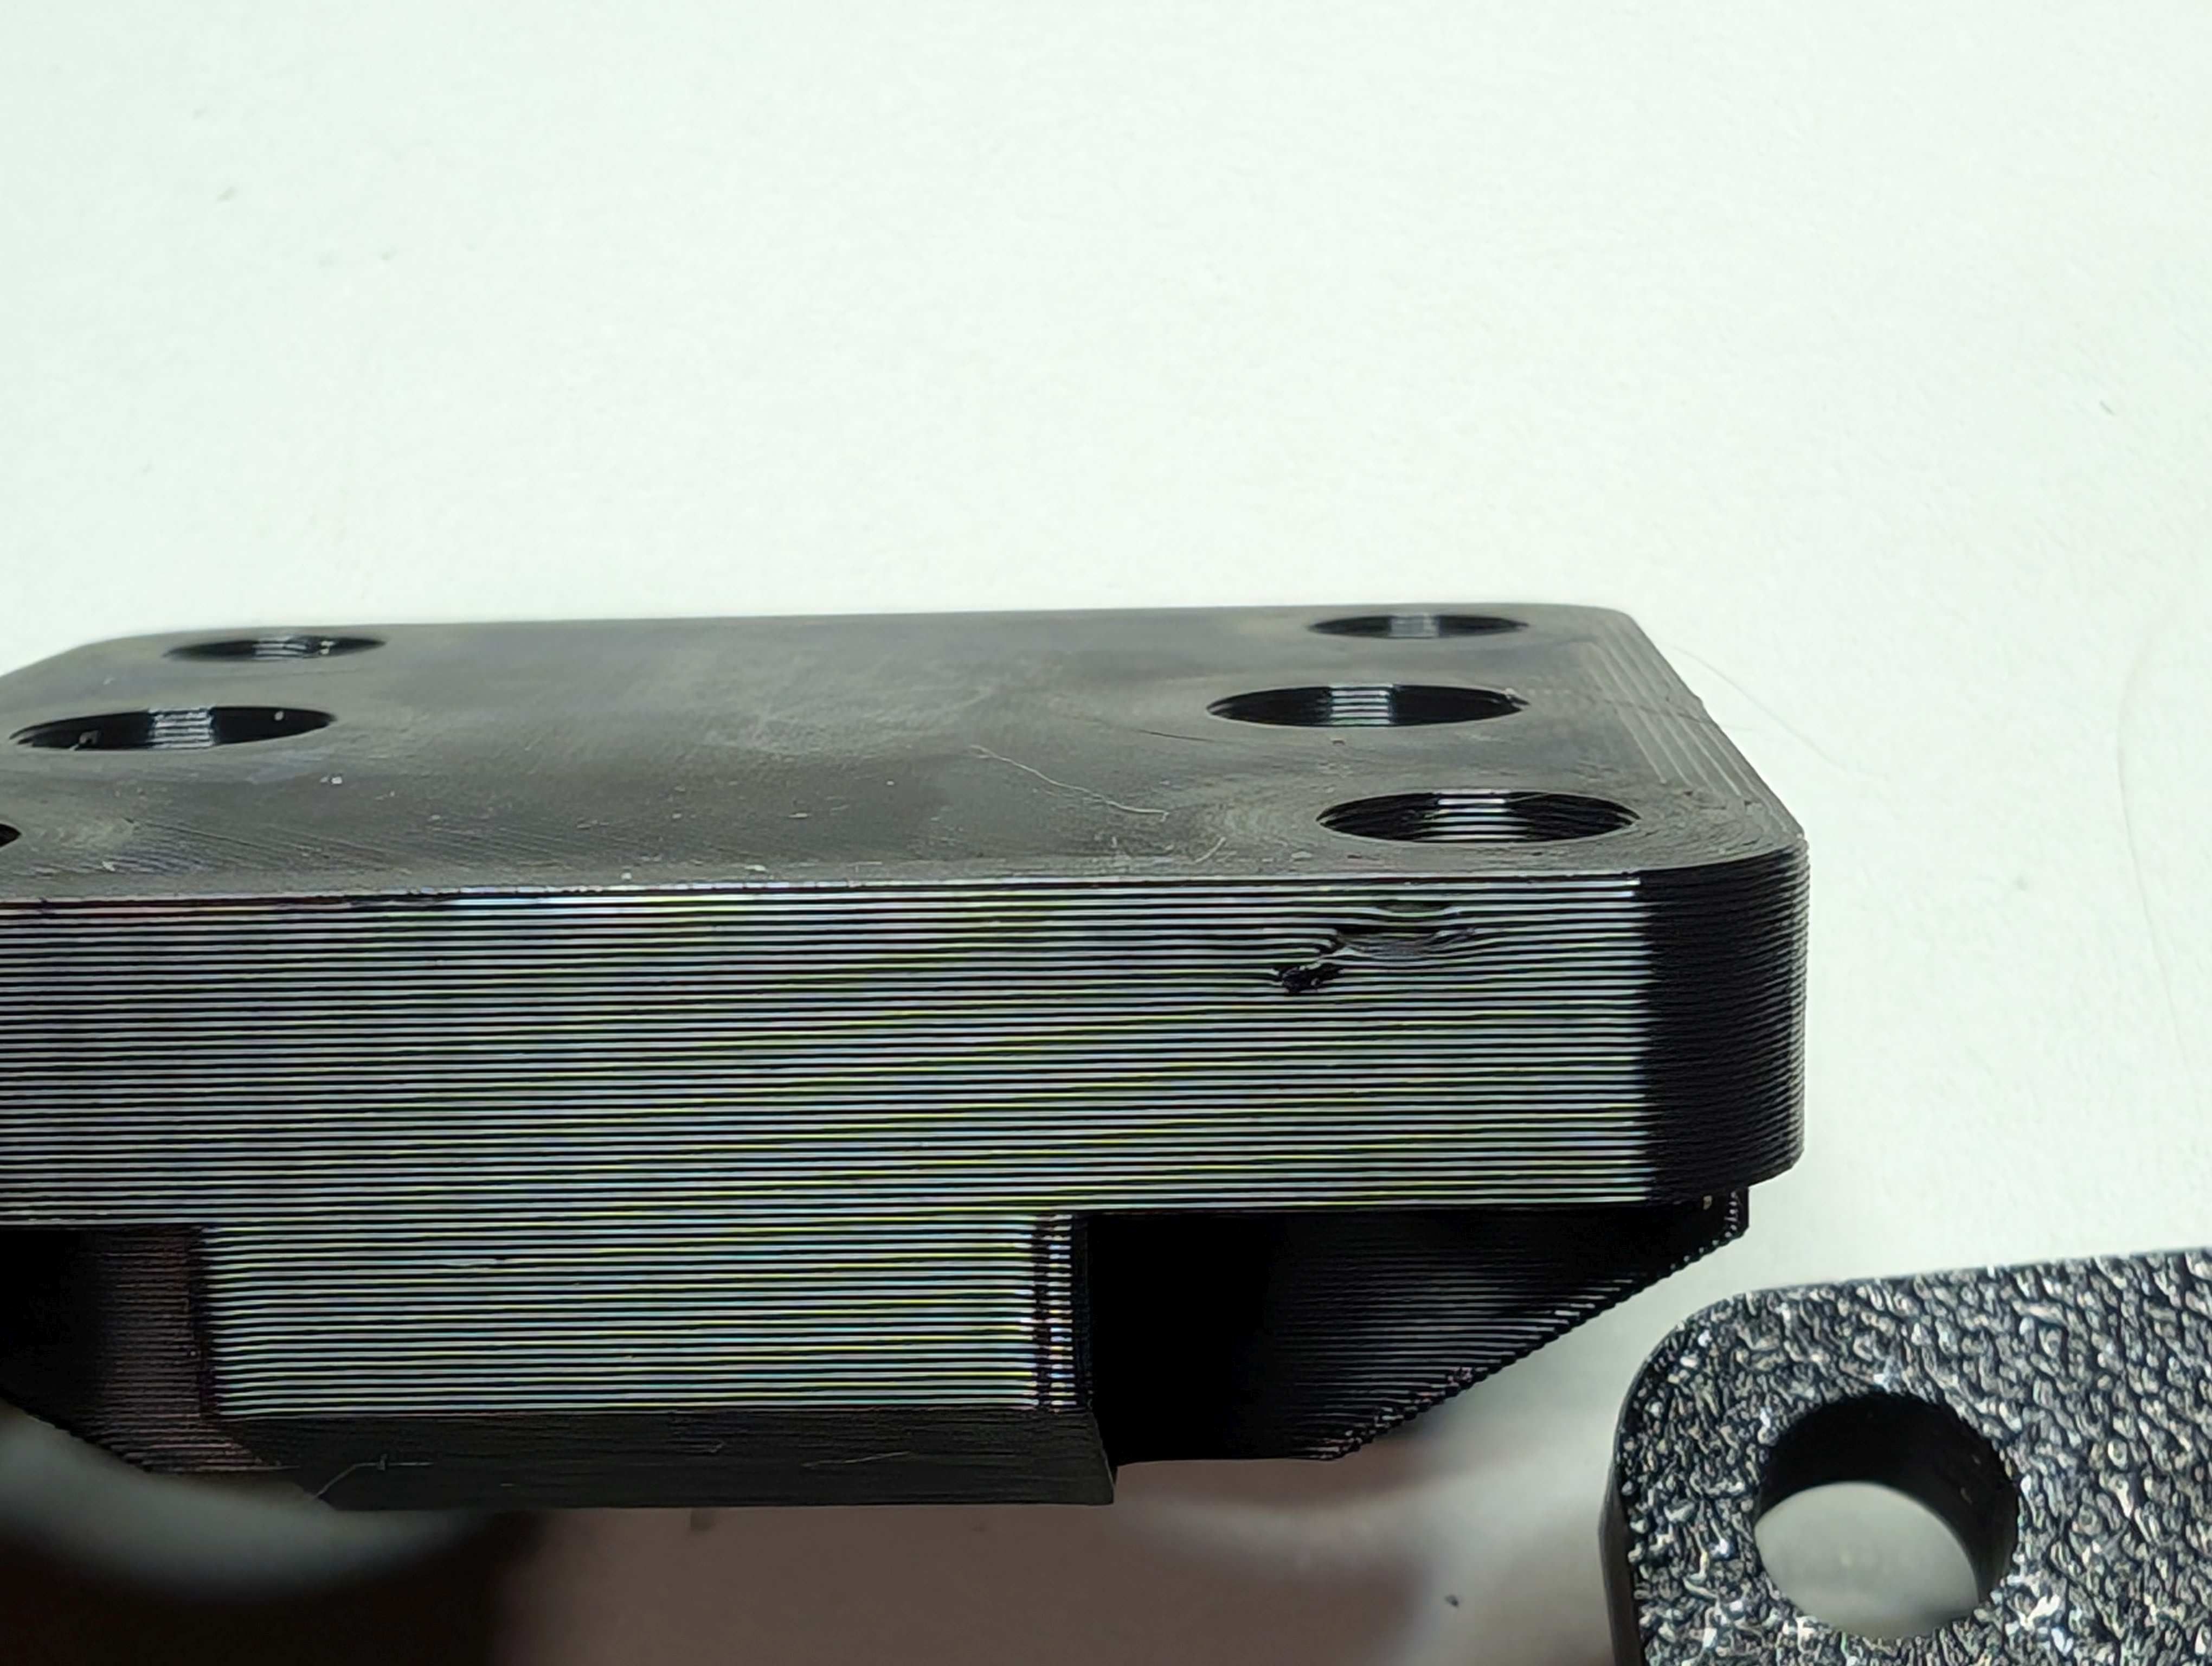
@kirk One question regarding the gasket. The upper surface of the printed parts is never as flat as the bottom, which is driven by the plate surface. Isn't it possible to wipe a small layer of usual silicone on it and let it dry? Optionally by immediately sticking the next part to assemble to it (e.g. membrane frame onto the flow frame)?
-
This is possible, but we haven't tried. We've been able to seal it with silicone gaskets so there's been no need. Also, if one of the gaskets gets damaged, it's simple to replace, unlike resealing the flow frame. But there's no reason you can't try!
"Ironing" the top layer of the print in your slicer may also make it smoother, or manually sanding, but again we haven't found it necessary to try this